Winfig Customization: Windows Themes, Fonts & Cursors

Overview
Winfig Customization provides automated scripts to install and configure custom fonts, cursor themes, and visual enhancements for Windows. Transform your desktop with beautiful Nerd Fonts, modern cursor themes, and seamless integration with your Winfig Dots ecosystem.
Features
- Automated Font Install: One-command install for Hack and JetBrainsMono Nerd Fonts.
- Cursor Theme Manager: Interactive menu for selecting and installing cursor themes.
- Windhawk Mods (UI tweaks, taskbar enhancements, system modifications)
Why Use Winfig Customization?
- Save time with automated, one-click installation
- Beautiful fonts optimized for terminals and code editors
- Modern cursor themes for a polished desktop experience
- Powerful Windhawk mods for deep Windows UI customization
- Consistent theming across your entire Winfig ecosystem
- Easy rollback and uninstall options
- Portable & reproducible setups for fresh installs or VMs
Nerd Fonts Setup
Requirements
- PowerShell 5+ for automation and scripting
- Git for cloning the customization repository
- Administrator privileges for font installation
- Internet access for downloading dependencies
Installation Methods
One-line installation - Downloads and runs automatically:
Invoke-RestMethod -useb https://raw.githubusercontent.com/Get-Winfig/winfig-customization/refs/heads/main/Fonts/setup.ps1 | Invoke-Expression
Why Web Install?
- Always gets the latest version
- No manual download required
- Automatic script verification
- Clones repo and installs fonts in one step
Download and run manually for offline environments:
Set-ExecutionPolicy RemoteSigned -Scope CurrentUser
# Download from GitHub
Invoke-WebRequest -useb "https://raw.githubusercontent.com/Get-Winfig/winfig-customization/refs/heads/main/Fonts/setup.ps1" -OutFile "setup.ps1"
Unblock-File -Path .\setup.ps1
.\setup.ps1
Note
- Ensure you have the latest script version
- Manual updates required for new releases
- Verify script integrity before running
Post-Installation
- Restart Windows to apply font changes system-wide
- Refresh font cache (automatically done by the script)
- Select your new font in:
- Windows Terminal: Settings → Appearance → Font face
- VS Code: Settings → Font Family
- Your favorite terminal or code editor
Tip: Use
JetBrainsMono Nerd FontorHack Nerd Fontfor the best icon support in Starship, Oh My Posh, and other terminal prompts.
Cursor Themes Setup
Requirements
- PowerShell 5+ for automation and scripting
- Git for cloning the customization repository
- Administrator privileges for cursor installation
- Internet access for downloading dependencies
Installation Methods
One-line installation - Downloads and runs automatically:
Invoke-RestMethod -useb https://raw.githubusercontent.com/Get-Winfig/winfig-customization/refs/heads/main/Cursors/setup.ps1 | Invoke-Expression
Why Web Install?
- Always gets the latest version
- No manual download required
- Automatic script verification
- Interactive menu for theme selection
Download and run manually for offline environments:
Set-ExecutionPolicy RemoteSigned -Scope CurrentUser
# Download from GitHub
Invoke-WebRequest -useb "https://raw.githubusercontent.com/Get-Winfig/winfig-customization/refs/heads/main/Cursors/setup.ps1" -OutFile "setup.ps1"
Unblock-File -Path .\setup.ps1
.\setup.ps1
Note
- Ensure you have the latest script version
- Manual updates required for new releases
- Verify script integrity before running
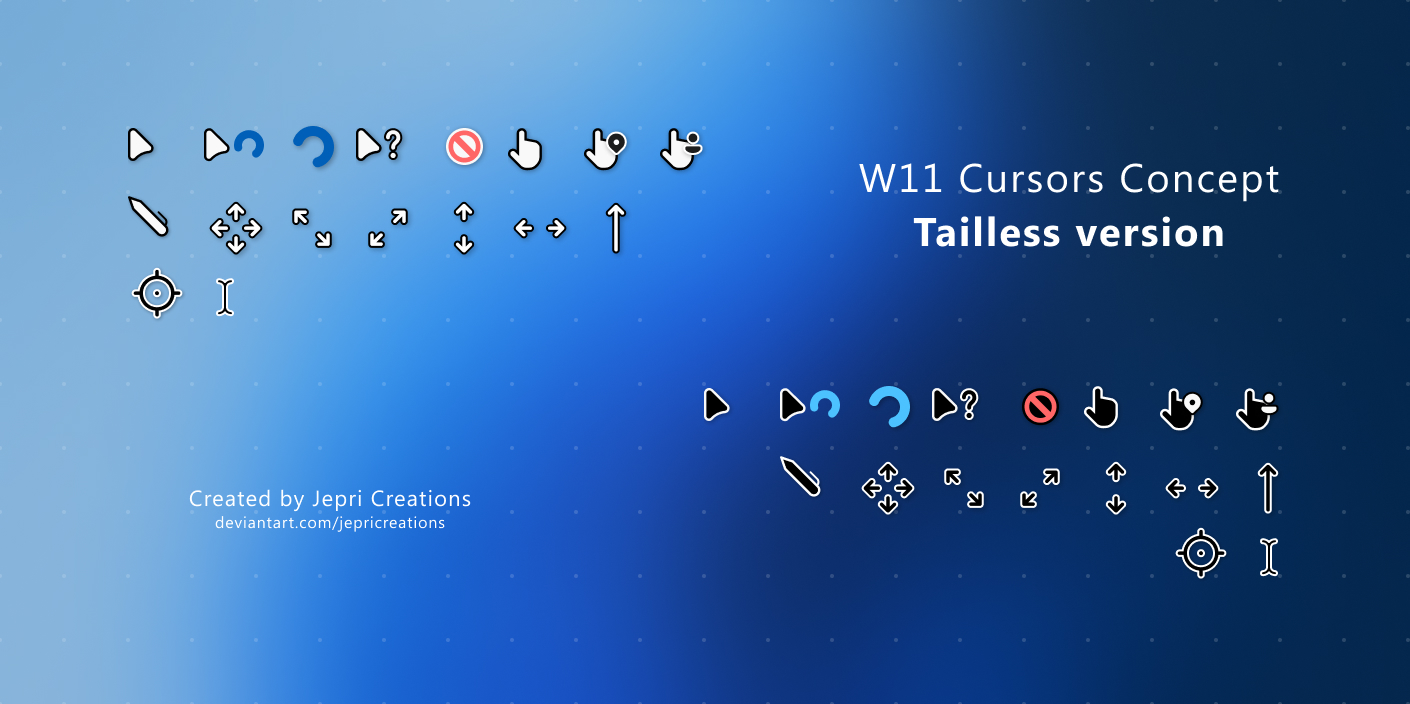
Available Cursor Themes
The script provides an interactive menu to choose from multiple modern cursor themes:
| Dark Variant | Light Variant |
|---|---|
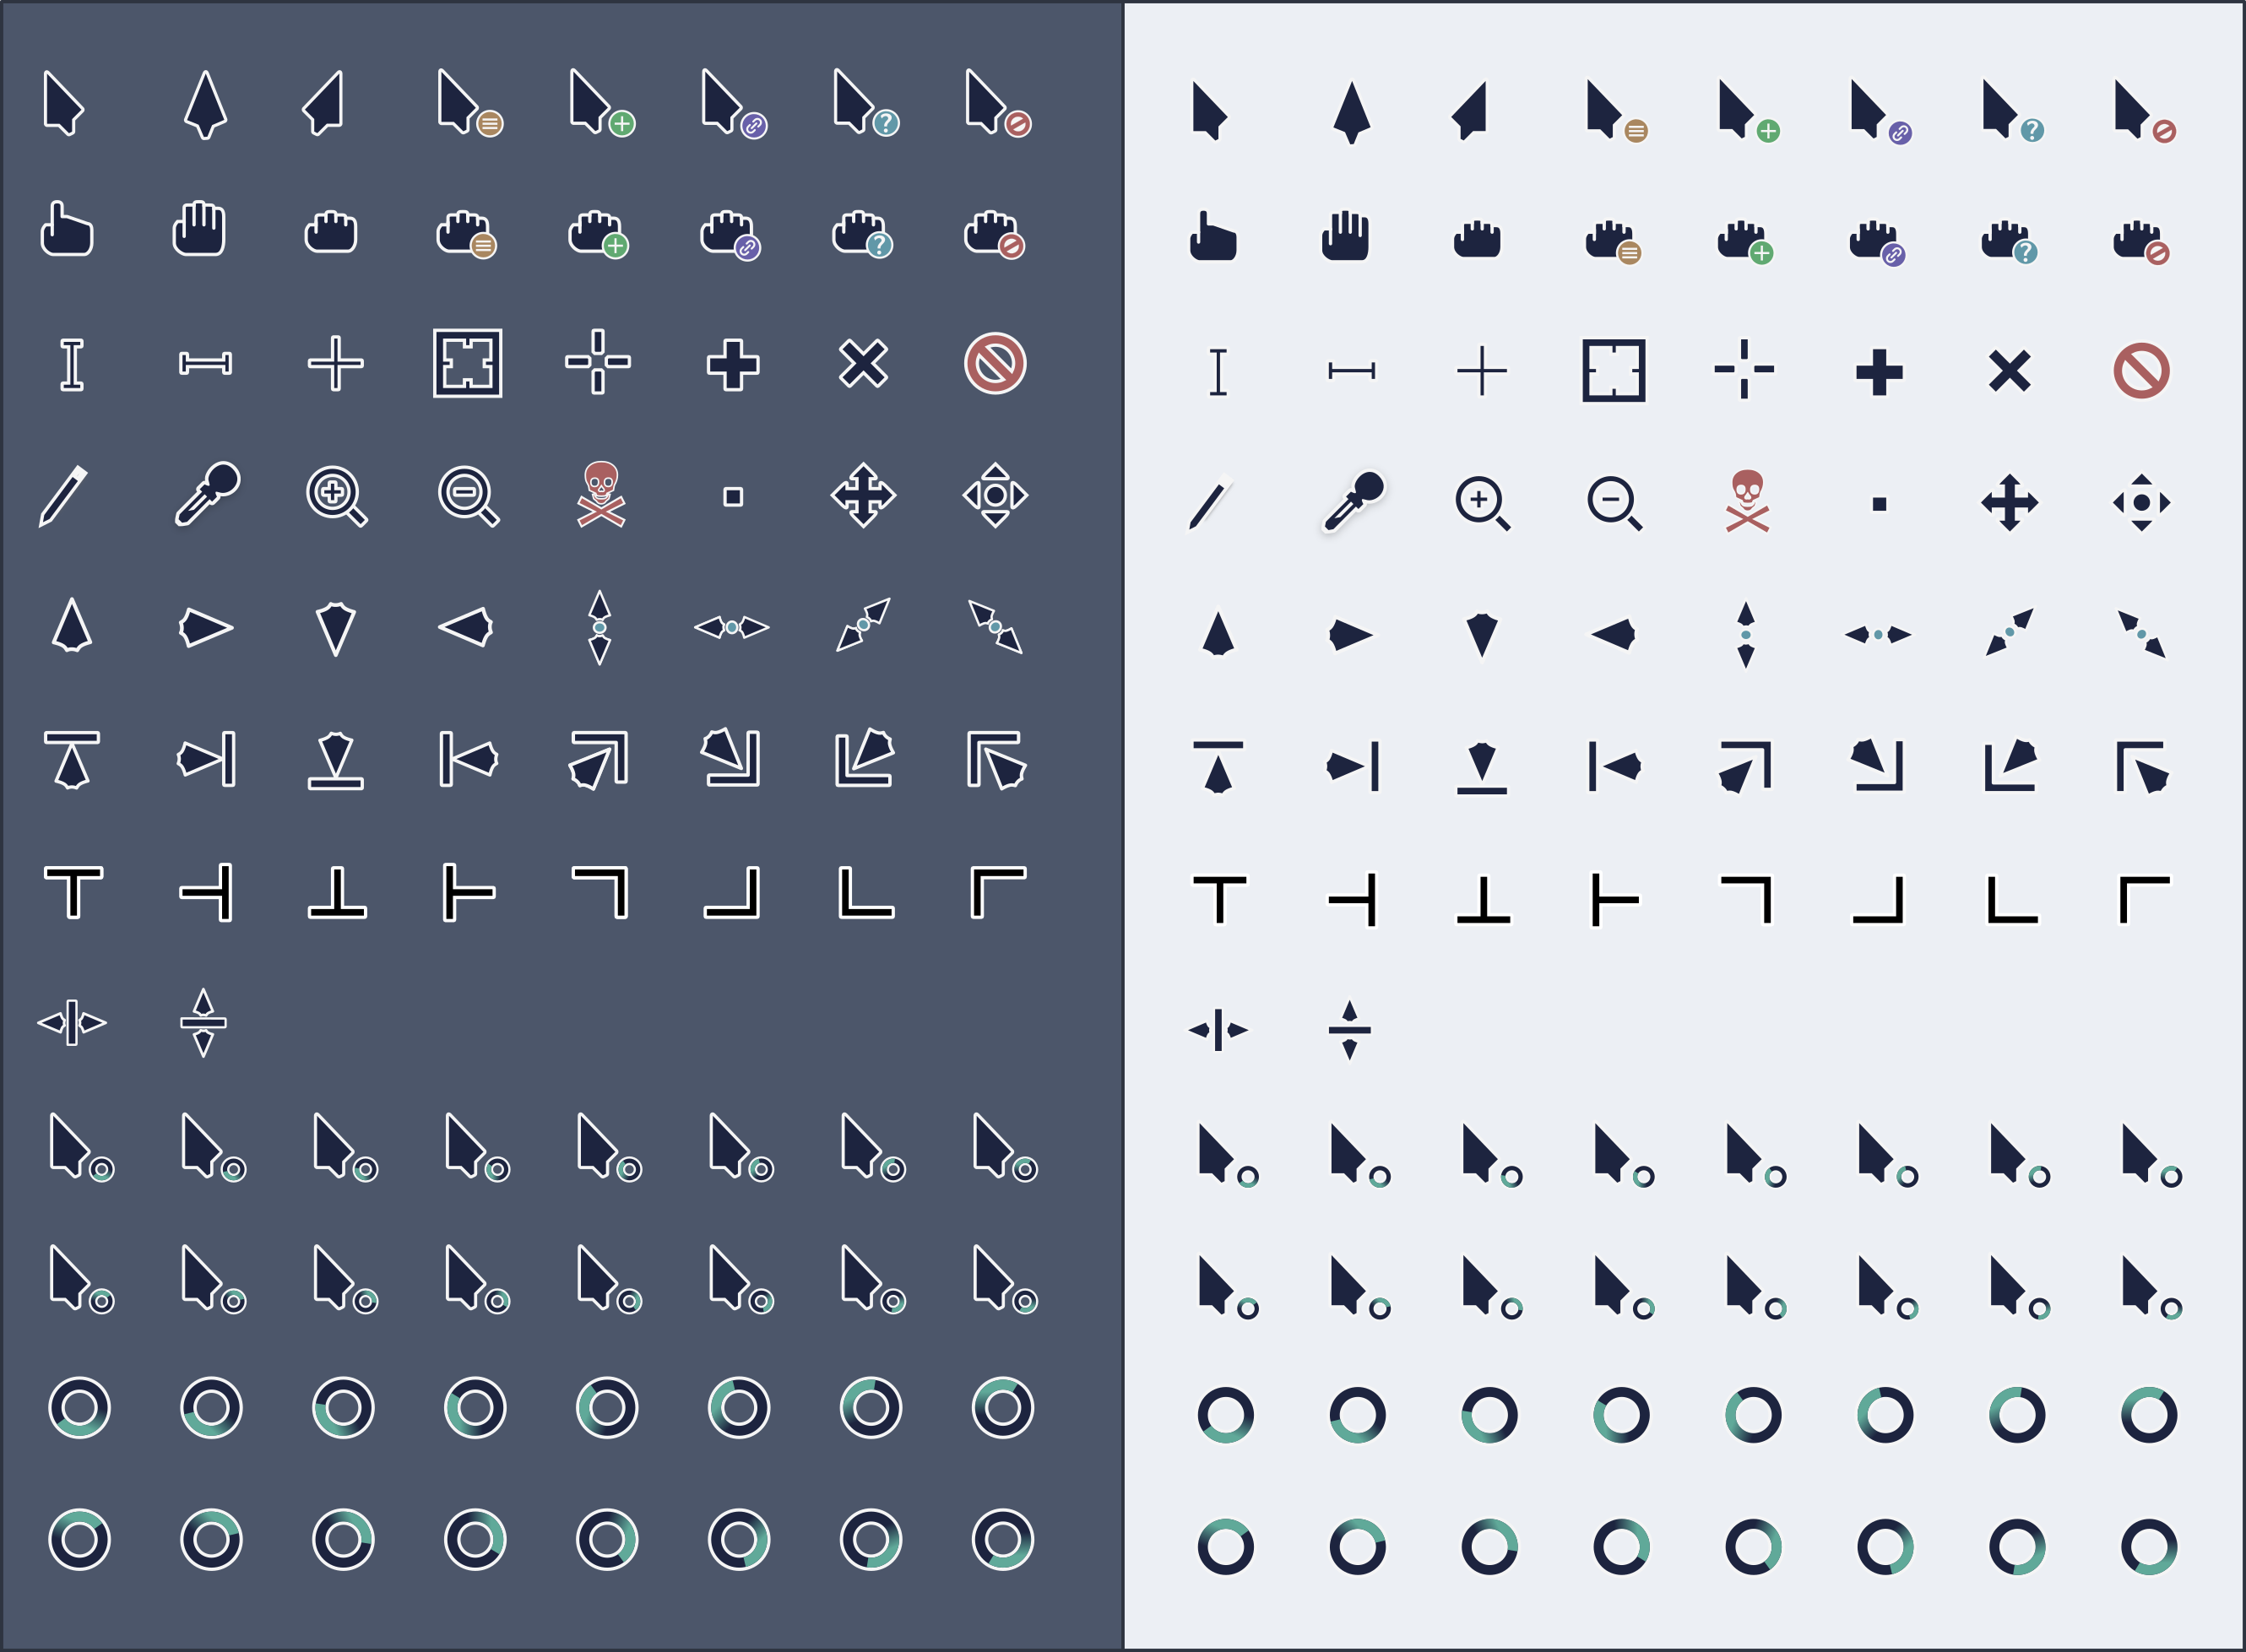 |
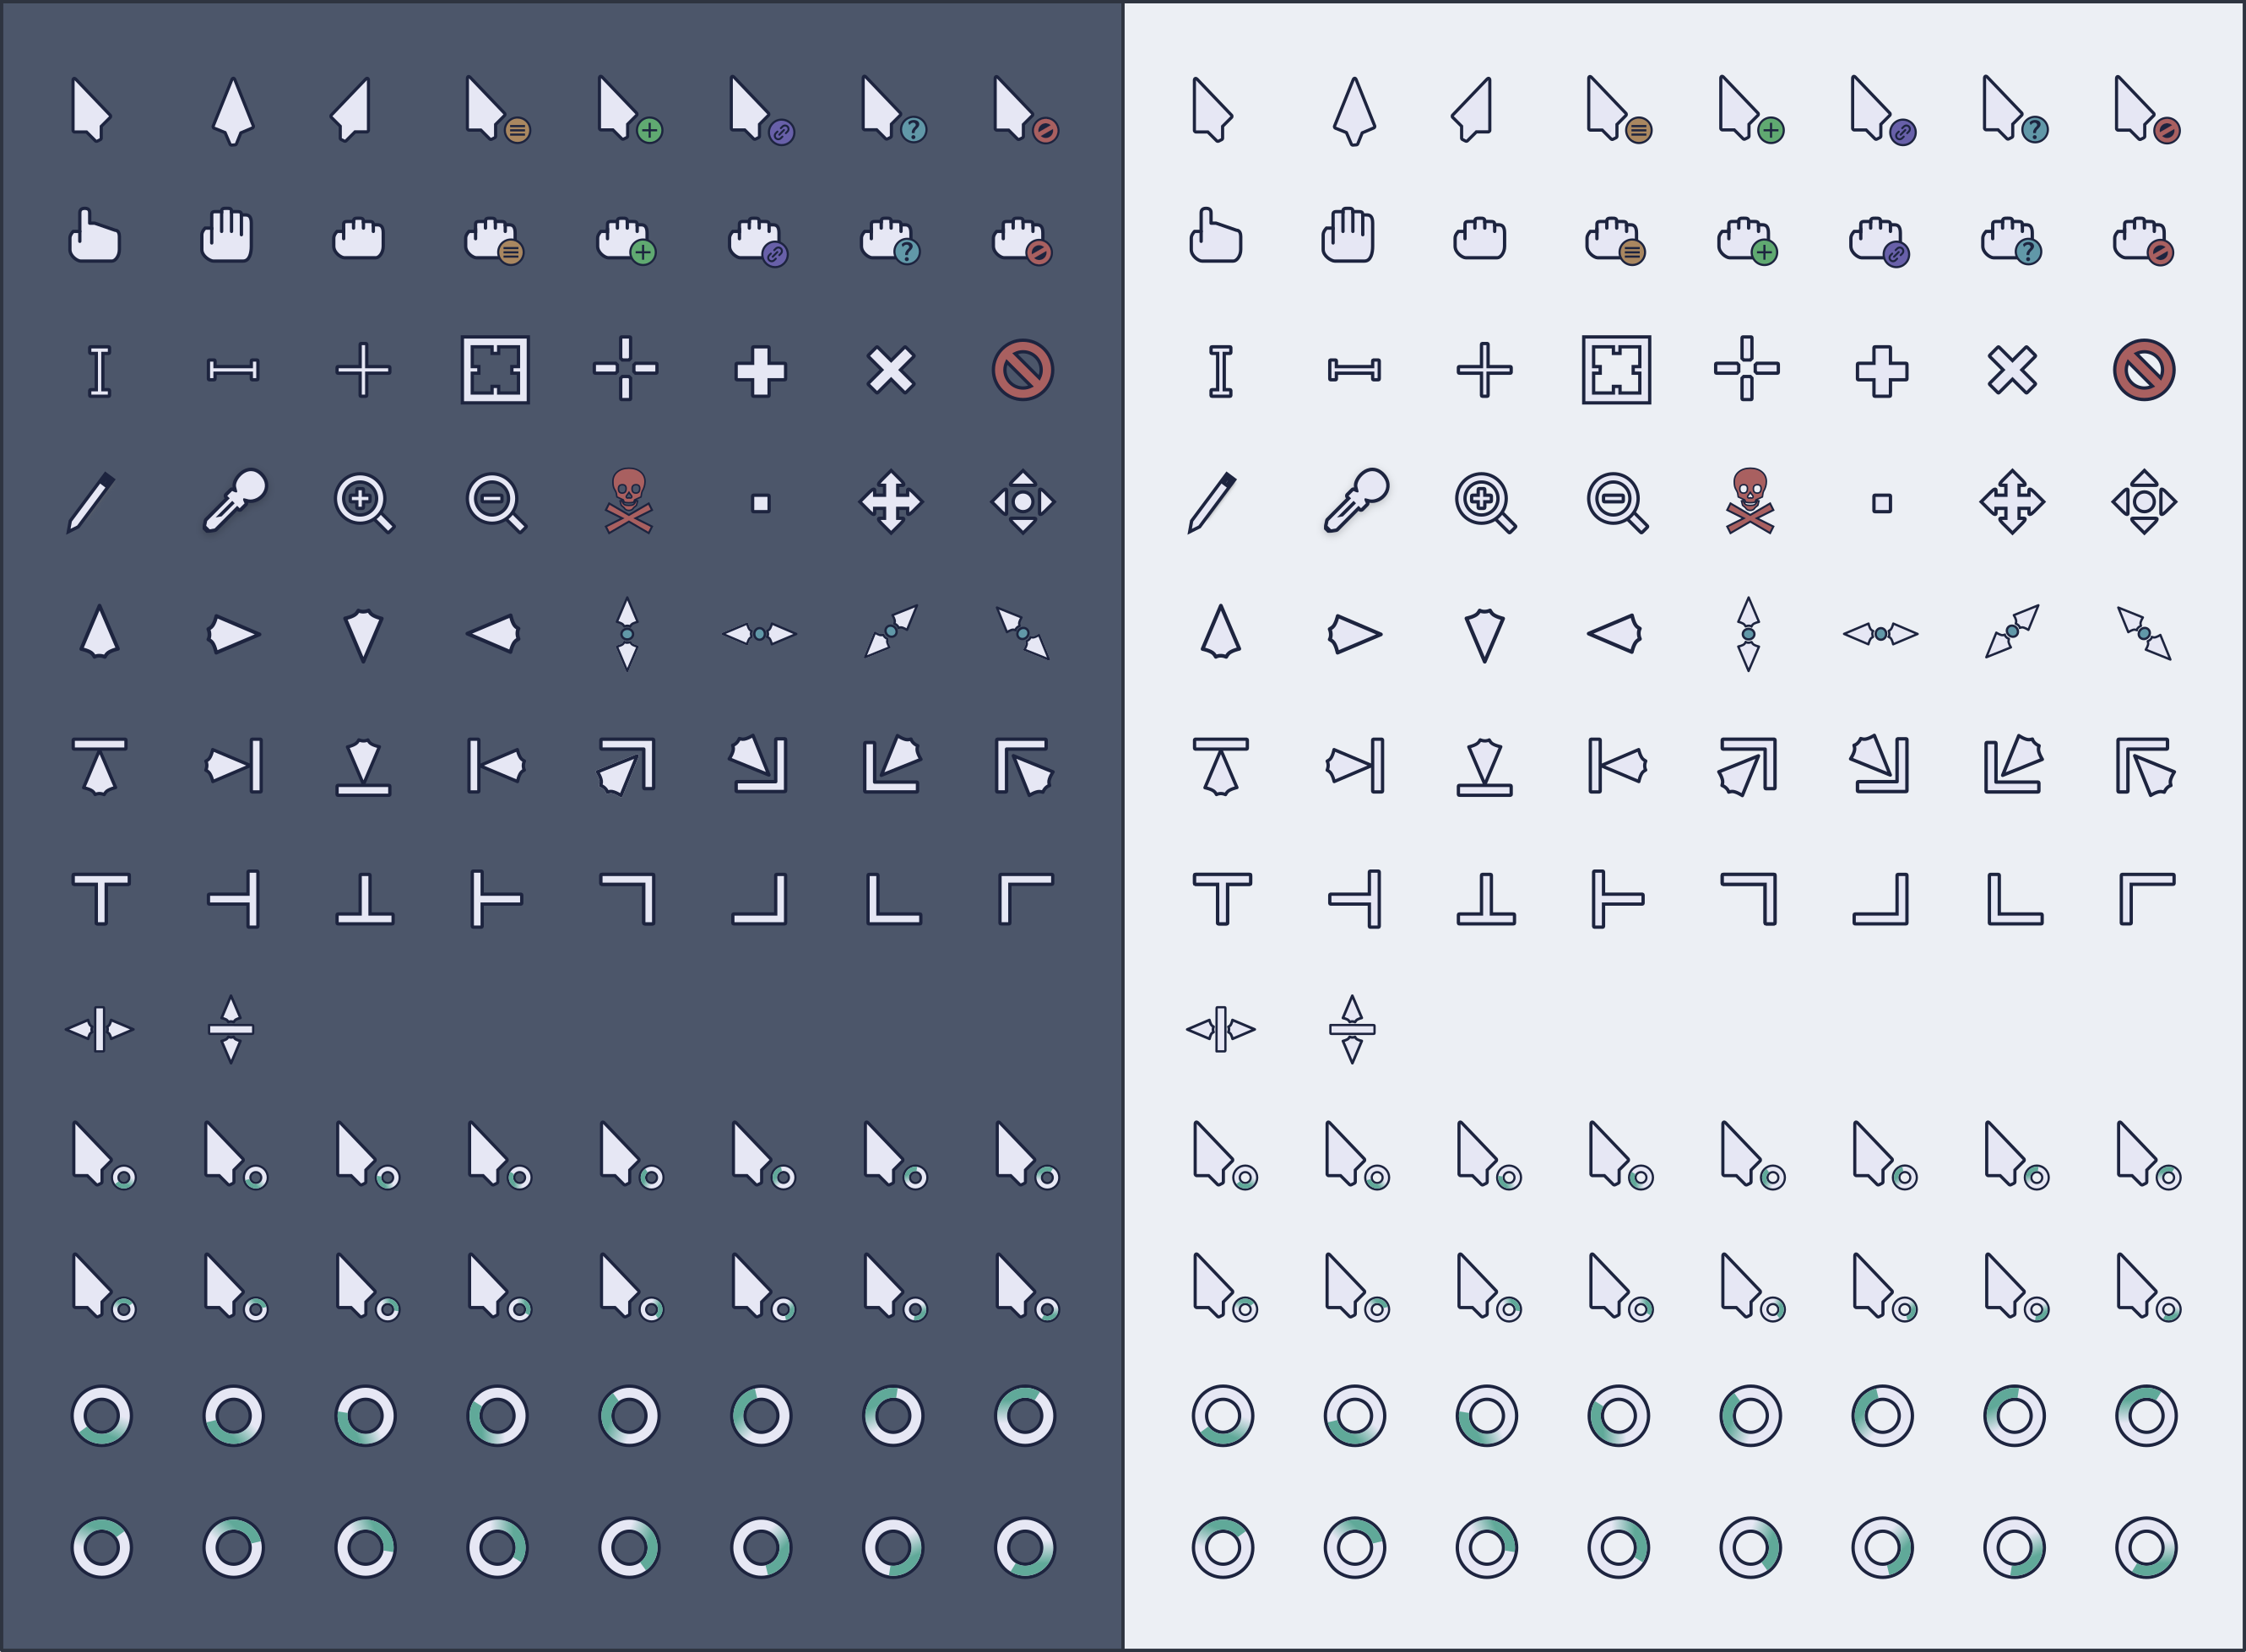 |
| Perfect for dark mode enthusiasts | Ideal for light interface users |
Features
- Smooth animations
- High-DPI support
- Multiple pointer styles
- Available in Light and Dark variants
Available in both Dark and Light variants
Features
- Modern Windows 11 aesthetic
- Consistent with system design language
- Optimized for 4K displays
- Available in Light and Dark variants
Post-Installation Steps
1. Manual Installation (Required)
The script will open the cursor folder and display instructions. Follow these steps:
- In the opened folder, right-click on
Install.inf - Select "Install" from the context menu
- Follow any prompts to complete installation
Note: Windows requires manual installation for security reasons. The script guides you through this process.
2. Apply Cursor Theme
- Go to Settings → Personalization → Themes → Mouse cursor
- Select your new cursor theme from the list
- Click Apply
3. Restart (Recommended)
For best results, restart Windows after applying the cursor theme.
Windhawk Mods Setup
What is Windhawk?
Windhawk is a powerful customization platform for Windows that allows you to modify system UI and behavior using community-created mods. Winfig Customization provides pre-configured settings for 15 carefully selected mods to enhance your Windows experience.
Requirements
- Windhawk installed on Windows 11
- Internet access for downloading mods
- Administrator privileges (recommended)
Supported Windhawk Mods
Below are all 15 Winfig-optimized mods available with pre-configured settings:
| Mod Name | Description |
|---|---|
| Taskbar Dock Animation | Smooth dock-style animations for taskbar icons |
| Taskbar Icon Size | Customize taskbar icon sizes for better visibility |
| Taskbar Tray System Icon Tweaks | Fine-tune system tray icon spacing and behavior |
| Windows 11 Taskbar Styler | Advanced taskbar appearance customization |
| Better File Sizes in Explorer Details | Show more readable file sizes in Explorer |
| Disk Pie Chart | Visual disk space representation in Explorer |
| Windows 11 File Explorer Styler | Customize File Explorer colors, spacing, and UI |
| Extension Change No Warning | Disable file extension change warnings |
| Modernize Folder Picker Dialog | Update old-style folder picker to modern UI |
| Translucent Windows | Enable transparency and blur effects on windows |
| Icon Resource Redirect | Replace system icons with custom alternatives |
| Disable Virtual Desktop Transition | Remove virtual desktop switching animations |
| Windows 11 Start Menu Styler | Customize Start Menu appearance and layout |
| Windows 11 Notification Center Styler | Style notification center colors and design |
| Notifications Placement | Control where notifications appear on screen |
Installation Instructions
Follow these steps to install and configure any Windhawk mod with Winfig settings:
Step 1: Install Windhawk
If you haven't installed Windhawk yet:
- Download from windhawk.net
- Run the installer and follow the setup wizard
- Launch Windhawk from the Start menu or system tray
Step 2: Install a Mod
- Open Windhawk
- Go to the Explore tab
- Use the search bar to find the mod you want (e.g., "Taskbar Dock Animation")
- Click Install and wait for installation to complete
- The mod will appear in the Installed Mods tab
Step 3: Import Winfig Configuration
- In Windhawk, click on the installed mod to open its Details page
- Navigate to the Advanced section
- Copy the configuration JSON from the mod's config section below
- Paste the copied config into the Mod settings field
- Click Save to apply the configuration
Step 4: Apply Changes
Most mods require restarting Windows Explorer:
Stop-Process -Name explorer -Force
Or use Windhawk's built-in restart: - Right-click Windhawk tray icon → Restart Explorer
Done!
Your mod is now installed and configured with Winfig's optimized settings!
Mod Configurations
Below are the pre-configured settings for each mod. Click to download or view the config directly from GitHub.
Taskbar Dock Animation
Adds smooth, macOS-style dock animations when hovering over taskbar icons.
{
    "AnimationType": 0,
    "MaxScale": 140,
    "EffectRadius": 100,
    "SpacingFactor": 50,
    "BounceDelay": 500,
    "FocusDuration": 200,
    "MirrorForTopTaskbar": 0,
    "DisableVerticalBounce": 0,
    "TaskbarLabelsMode": 0
}
Taskbar Icon Size
Sets taskbar icons to 32px for optimal balance between visibility and space efficiency.
{
    "IconSize": 24,
    "TaskbarHeight": 45,
    "TaskbarButtonWidth": 40,
    "IconSizeSmall": 16,
    "TaskbarButtonWidthSmall": 32
}
Taskbar Tray System Icon Tweaks
Reduces system tray clutter with optimized spacing and hidden redundant icons.
{
    "hideVolumeIcon": 1,
    "hideNetworkIcon": 1,
    "hideBatteryIcon": 0,
    "hideMicrophoneIcon": 1,
    "hideGeolocationIcon": 1,
    "hideStudioEffectsIcon": 0,
    "hideLanguageBar": 1,
    "hideLanguageSupplementaryIcons": 1,
    "hideBellIcon": "whenInactive",
    "showDesktopButtonWidth": 12
}
Windows 11 Taskbar Styler
Applies beautiful Catppuccin theming to your taskbar with transparency and modern styling.
{
    "theme": "TranslucentTaskbar",
    "controlStyles[0].target": "",
    "controlStyles[0].styles[0]": "",
    "styleConstants[0]": "",
    "resourceVariables[0].variableKey": "",
    "resourceVariables[0].value": ""
}
Better File Sizes in Explorer Details
Displays file sizes in a more readable format (e.g., "1.5 GB" instead of "1,536 MB").
{
    "calculateFolderSizes": "withShiftKey",
    "sortSizesMixFolders": 1,
    "disableKbOnlySizes": 1,
    "useIecTerms": 0
}
Disk Pie Chart
Adds visual pie charts to "This PC" view showing disk space usage at a glance.
{
    "classic": 0
}
Windows 11 File Explorer Styler
Transforms File Explorer with beautiful Catppuccin theming and improved UI.
{
    "theme": "MicaBar",
    "controlStyles[0].target": "",
    "controlStyles[0].styles[0]": "",
    "styleConstants[0]": "",
    "resourceVariables[0].variableKey": "",
    "resourceVariables[0].value": "",
    "explorerFrameContainerHeight": 0
}
Extension Change No Warning
Removes the annoying warning when changing file extensions (for power users).
{}
Modernize Folder Picker Dialog
Replaces old-style folder picker dialogs with modern Windows 11 UI.
{}
Translucent Windows
Adds beautiful transparency and blur effects to windows for a modern, macOS-like aesthetic.
{
    "ThemeBackground": 0,
    "TextAlphaBlend": 1,
    "type": "mica",
    "AccentBlurBehind": "#6666a0",
    "ImmersiveDarkTitle": 0,
    "ExtendFrame": 0,
    "CornerOption": "smallround",
    "RainbowSpeed": 1,
    "TitlebarColor.ColorTitlebar": 0,
    "TitlebarColor.RainbowTitlebar": 1,
    "TitlebarColor.titlerbarstyles_active": "FF0000",
    "TitlebarColor.titlerbarstyles_inactive": "00FFFF",
    "TitlebarTextColor.ColorTitlebarText": 1,
    "TitlebarTextColor.RainbowTextColor": 0,
    "TitlebarTextColor.titlerbarcolorstyles_active": "6666a0",
    "TitlebarTextColor.titlerbarcolorstyles_inactive": "00FFFF",
    "BorderColor.ColorBorder": 0,
    "BorderColor.RainbowBorder": 0,
    "BorderColor.borderstyles_active": "FF0000",
    "BorderColor.borderstyles_inactive": "00FFFF",
    "BorderColor.MenuBorderColor": 0,
    "RuledPrograms[0].target": "mspaint.exe",
    "RuledPrograms[0].ThemeBackground": 0,
    "RuledPrograms[0].TextAlphaBlend": 0,
    "RuledPrograms[0].type": "none",
    "RuledPrograms[0].AccentBlurBehind": "00000000",
    "RuledPrograms[0].ImmersiveDarkTitle": 0,
    "RuledPrograms[0].ExtendFrame": 0,
    "RuledPrograms[0].CornerOption": "default",
    "RuledPrograms[0].RainbowSpeed": 1,
    "RuledPrograms[0].TitlebarColor.ColorTitlebar": 0,
    "RuledPrograms[0].TitlebarColor.RainbowTitlebar": 0,
    "RuledPrograms[0].TitlebarColor.titlerbarstyles_active": "FF0000",
    "RuledPrograms[0].TitlebarColor.titlerbarstyles_inactive": "00FFFF",
    "RuledPrograms[0].TitlebarTextColor.ColorTitlebarText": 0,
    "RuledPrograms[0].TitlebarTextColor.RainbowTextColor": 0,
    "RuledPrograms[0].TitlebarTextColor.titlerbarcolorstyles_active": "FF0000",
    "RuledPrograms[0].TitlebarTextColor.titlerbarcolorstyles_inactive": "00FFFF",
    "RuledPrograms[0].BorderColor.ColorBorder": 0,
    "RuledPrograms[0].BorderColor.RainbowBorder": 0,
    "RuledPrograms[0].BorderColor.borderstyles_active": "FF0000",
    "RuledPrograms[0].BorderColor.borderstyles_inactive": "00FFFF",
    "RenderingMod.ThemeBackground": 0,
    "RenderingMod.AccentColorControls": 0
}
Icon Resource Redirect
Replaces default Windows system icons with custom alternatives.
{
    "iconTheme": "Catppuccin Mocha|themes/icons/niivu/Catppuccin%20Mocha.zip",
    "themePaths[0]": "",
    "redirectionResourcePaths[0].original": "",
    "redirectionResourcePaths[0].redirect": "",
    "allResourceRedirect": 0,
    "themeFolder": ""
}
Disable Virtual Desktop Transition
Removes the sliding animation when switching virtual desktops for instant transitions.
{}
Windows 11 Start Menu Styler
Customizes Start Menu with beautiful theming and improved layout.
{
    "theme": "SideBySide",
    "disableNewStartMenuLayout": 1,
    "controlStyles[0].target": "",
    "controlStyles[0].styles[0]": "",
    "webContentStyles[0].target": "",
    "webContentStyles[0].styles[0]": "",
    "webContentCustomJs": "",
    "styleConstants[0]": "",
    "resourceVariables[0].variableKey": "",
    "resourceVariables[0].value": ""
}
Windows 11 Notification Center Styler
Styles notification center to match your Catppuccin theme.
{
    "theme": "Matter",
    "resourceVariables[0].variableKey": "",
    "resourceVariables[0].value": "",
    "themeResourceVariables[0]": ""
}
Notifications Placement
Controls notification placement on screen (great for multi-monitor setups).
{
    "monitor": 1,
    "monitorInterfaceName": "",
    "horizontalPlacement": "right",
    "horizontalDistanceFromScreenEdge": 0,
    "verticalPlacement": "top",
    "verticalDistanceFromScreenEdge": 0
}
Frequently Asked Questions (FAQ)
Do I need administrator privileges?
Yes, both font and cursor installation require administrator rights for system-wide installation.
Will this overwrite my existing fonts or cursors?
Fonts are added alongside existing ones. Cursor themes can be switched at any time without removing old ones.
Can I uninstall these customizations?
Yes. Fonts can be removed from C:\Windows\Fonts, and cursor themes can be uninstalled via Settings → Mouse cursor settings.
Do these work on Windows 10?
Yes, both scripts work on Windows 10 and Windows 11.
How do I update to the latest fonts/cursors?
Re-run the installation scripts. They will automatically update the Winfig Customization repository.
Why do I need to manually install cursors?
Windows security policies require manual installation of cursor themes via right-click → Install.
Can I use these fonts in other applications?
Yes! Once installed, Nerd Fonts work in any application that supports custom fonts (VS Code, terminals, browsers, etc.).
Are these scripts safe?
All scripts are open source and can be reviewed on the Winfig GitHub repository.
Troubleshooting Guide
Fonts not appearing after installation
- Restart Windows to refresh the font cache
- Check font installation: Open
C:\Windows\Fontsand verify Nerd Fonts are present - Clear font cache manually:
Stop-Service -Name "FontCache" Remove-Item -Path "$env:LOCALAPPDATA\Microsoft\Windows\Caches\*" -Recurse -Force Start-Service -Name "FontCache" - Reinstall fonts: Run the script again with elevated privileges
Cursor theme not applying
- Restart Windows after installing the cursor theme
- Manually apply: Go to Settings → Personalization → Themes → Mouse cursor
- Check installation: Verify the cursor files are in
C:\Windows\Cursors - Use Control Panel: Search for "Change mouse pointer" and select your theme from the list
Script execution blocked or errors
- Check execution policy:
Get-ExecutionPolicy Set-ExecutionPolicy RemoteSigned -Scope CurrentUser - Run as Administrator: Right-click PowerShell → Run as Administrator
- Unblock downloaded files:
Unblock-File -Path .\setup.ps1 - Check antivirus: Temporarily disable antivirus if it's blocking script execution
Windhawk mods not working or crashing
- Update Windhawk: Download the latest version from windhawk.net
- Restart Windows Explorer:
Stop-Process -Name explorer -Force - Disable conflicting mods: Some mods may conflict with each other (e.g., multiple taskbar mods)
- Check mod compatibility: Ensure the mod supports your Windows version
- Reinstall the mod: Uninstall and reinstall the problematic mod
- Clear Windhawk cache: Settings → Advanced → Clear cache
Repository clone or download fails
- Check internet connection: Ensure stable internet access
- Verify Git installation:
git --version - Use HTTPS instead of SSH: Clone with HTTPS URL if SSH fails
- Check GitHub status: Visit githubstatus.com
- Manual download: Download ZIP from GitHub and extract manually
Performance issues after installing mods
- Disable resource-heavy mods: Such as Translucent Windows or animations
- Reduce transparency levels: Lower opacity settings in mod configs
- Check system resources: Open Task Manager to monitor CPU/RAM usage
- Disable unnecessary mods: Keep only essential mods enabled
- Update graphics drivers: Ensure GPU drivers are up to date
Nerd Font icons not displaying correctly
- Select the correct font variant: Use "Nerd Font" or "Nerd Font Mono" versions
- Check terminal/editor settings: Ensure the font is properly selected
- Verify Unicode support: Your application must support Unicode characters
- Update your terminal: Use Windows Terminal, Alacritty, or other modern terminals
- Test with font preview: Open
C:\Windows\Fontsand preview the font
Cursor animation or effects not working
- Enable cursor shadow: Settings → Mouse → Additional mouse options → Pointer Options → Enable pointer shadow
- Check display scaling: High DPI settings may affect cursor rendering
- Use native resolution: Cursor themes work best at native display resolution
- Disable hardware acceleration: In some apps if cursor appears glitchy
Config import fails in Windhawk
- Verify JSON syntax: Ensure the config file is valid JSON
- Copy entire content: Select all and copy the complete JSON object
- Use raw GitHub link: Copy from raw.githubusercontent.com URLs
- Check mod version: Ensure config matches your mod version
- Manually edit settings: Input values directly in Windhawk settings UI
Need more help?
- Visit the Winfig GitHub Issues page
- Check Winfig Discussions for community help
- Review the full documentation at winfig-docs
- Open a new issue with detailed error logs and system information